
Installing OS using a Windows Computer.
This post will be a duplicate of my last post, EXCEPT that instead of using a MAC we are going to use a Windows based Machine. If you have a MAC - go back to the last post, and skip this one. If you have a Windows computer, you’re in the right place.
If you are following my journey back into the world of Pi, you know that this short series on the Pi Zero is meant to document and reflect my process and point out the little things (both technical and not) that might help the real newbie gain confidence as they grow their maker skills and develop a growth mindset using a Pi Zero
In my first post, I shared some backgrounds on my attempts to venture into the world of Pi.
In the second post, I tried to prepare you for some of the chicken and egg scenarios that might derail you as you gear up to use your Pi Zero. Basically there are two important steps to starting out
1) getting the operating system installed
2) getting a monitor or display up and running
You can't really do one without the other. In the second post, I mostly talked about getting your monitor or display set up - but you can't really do that until you have an Operating System running your Pi Zero. So these first few post are really quite intertwined. In my last post I shared how I installed the Operating system on a Mac, while in this post , we are doing the same on a Windows machine. In my next post, I plan to focus on some troubleshooting I went through to deal with my display/monitor issues.
So let’s start with “What is an operating system and Why do you need one on your Raspberry Pi Zero.”
According to Webopedia ....
The operating system is the most important program that runs on acomputer. Every general-purpose computer must have an operating system to run other programs and applications. Operating systems perform basic tasks, such as recognizing input from the keyboard, sending output to the display screen, keeping track of files anddirectories on the disk, and controlling peripheral devices such asdisk drives and printers. ...Webopedia

So basically your Pi Zero did not come with its most important program - the Operating System-- which basically means it can't do anything until you figure out how to install an operating system for your Pi Zero.
If you purchased your Pi Zero as part of a kit, there is a chance your kit included the operating system already installed on a microSD card.
If not, you’ll need two things to get started.
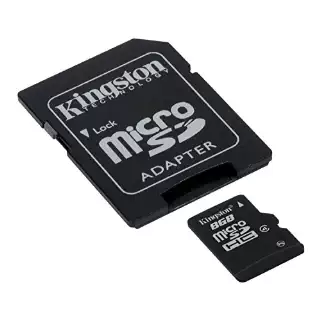
- A 8 gig micro SD card and adapter (about $5.00)
- An Internet enabled computer with an SD card slot
The recommended Operating System for the Pi Zero (at this time) is called Raspian Jessie.
You can find both Raspian Jessie and instructions for installing it on the Raspberry Pi download page. The Windows direction in the installation guide provided there were pretty straightforward.

Go ahead and download and unzip Raspbian Jessie Operating from the Raspberry Pi downloads page
You can find the file at https://www.raspberrypi.org/downloads/raspbian/
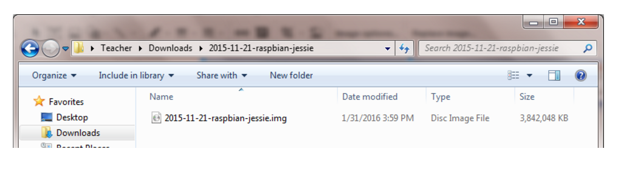
When you unzip the file, open the unzipped Raspian folder and note that you now have an ‘image’ file ending with .img file.
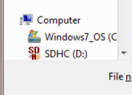
Now insert your MicroSD Card and Adapter into your Windows computer.
Note that my SD card is is my (D:) drive. Yours might be assigned another letter.
It’s very important to note the CORRECT letter.
Note that my SD card is is my (D:) drive. Yours might be assigned another letter.
It’s very important to note the CORRECT letter.
Download the Win32DiskImager utility from the Sourceforge Project page

When you unzip the file, you will now have a file called Win32DiskImager-0.9.5-install.exe

If you are the administrator on your computer, Double Click on this file to Run.
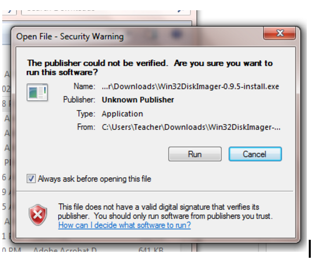
Note: If you are not the logged in as an administrator, you may need to right click on the file and select run as administrator, typing in your administrator password when prompted.
Note: If you are not the logged in as an administrator, you may need to right click on the file and select run as administrator, typing in your administrator password when prompted.
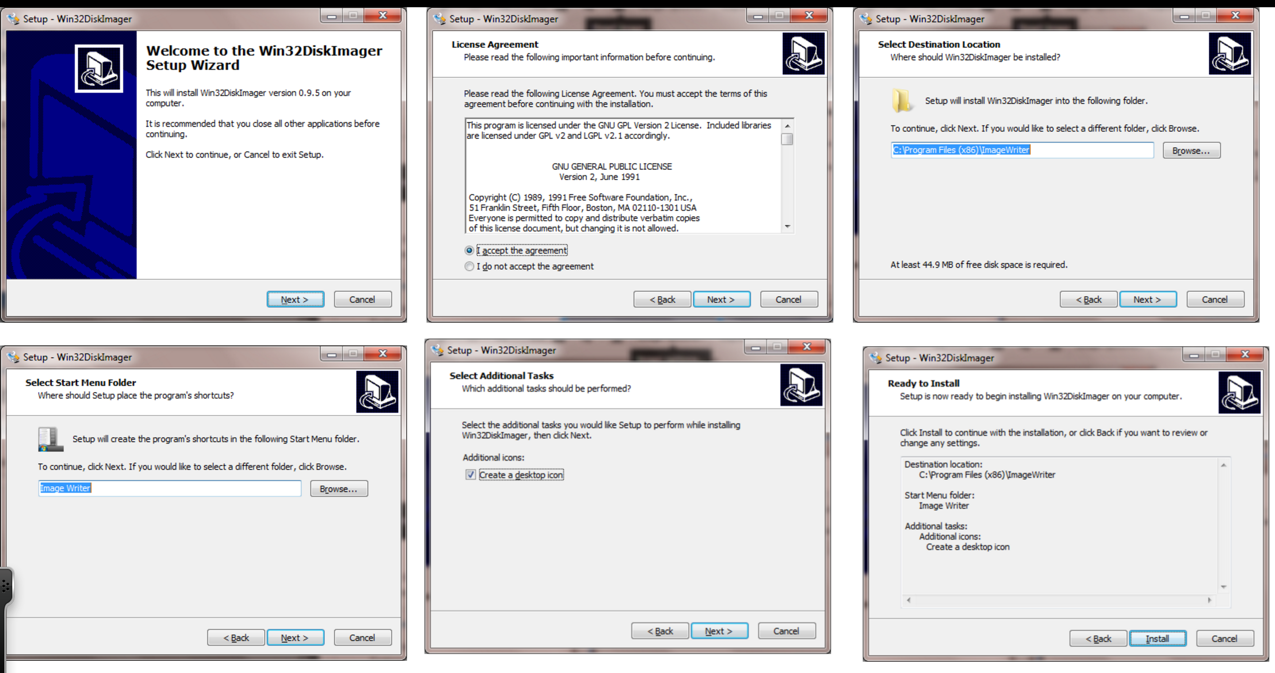
You’ll get the usual series of prompts that ask you to hit NEXT several times until you get the final INSTALL prompt to click on.
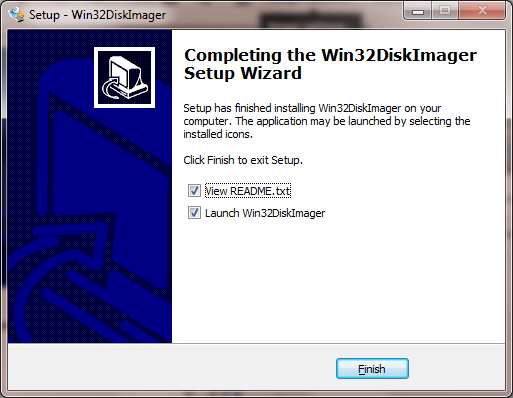
When the Win32 Disk Imager has installed you’ll get a README file (which you can just close) and the following screen. Click on FINISH!
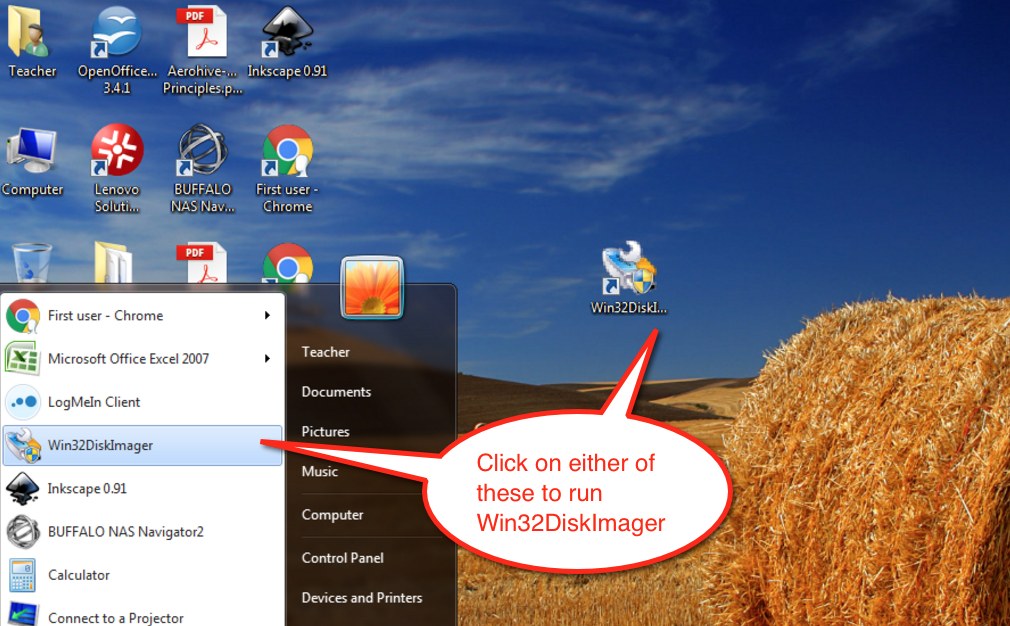
You will now have Desktop Icon along with a Program on your computer called Win32 Disk Imager. Click on either to run the Disk Imager.
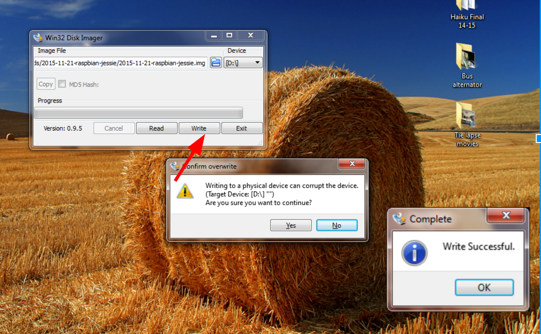
When prompted, click in the Image Box and then Select the Raspbian Jessie image file you downloaded and unzipped earlier and press OPEN.
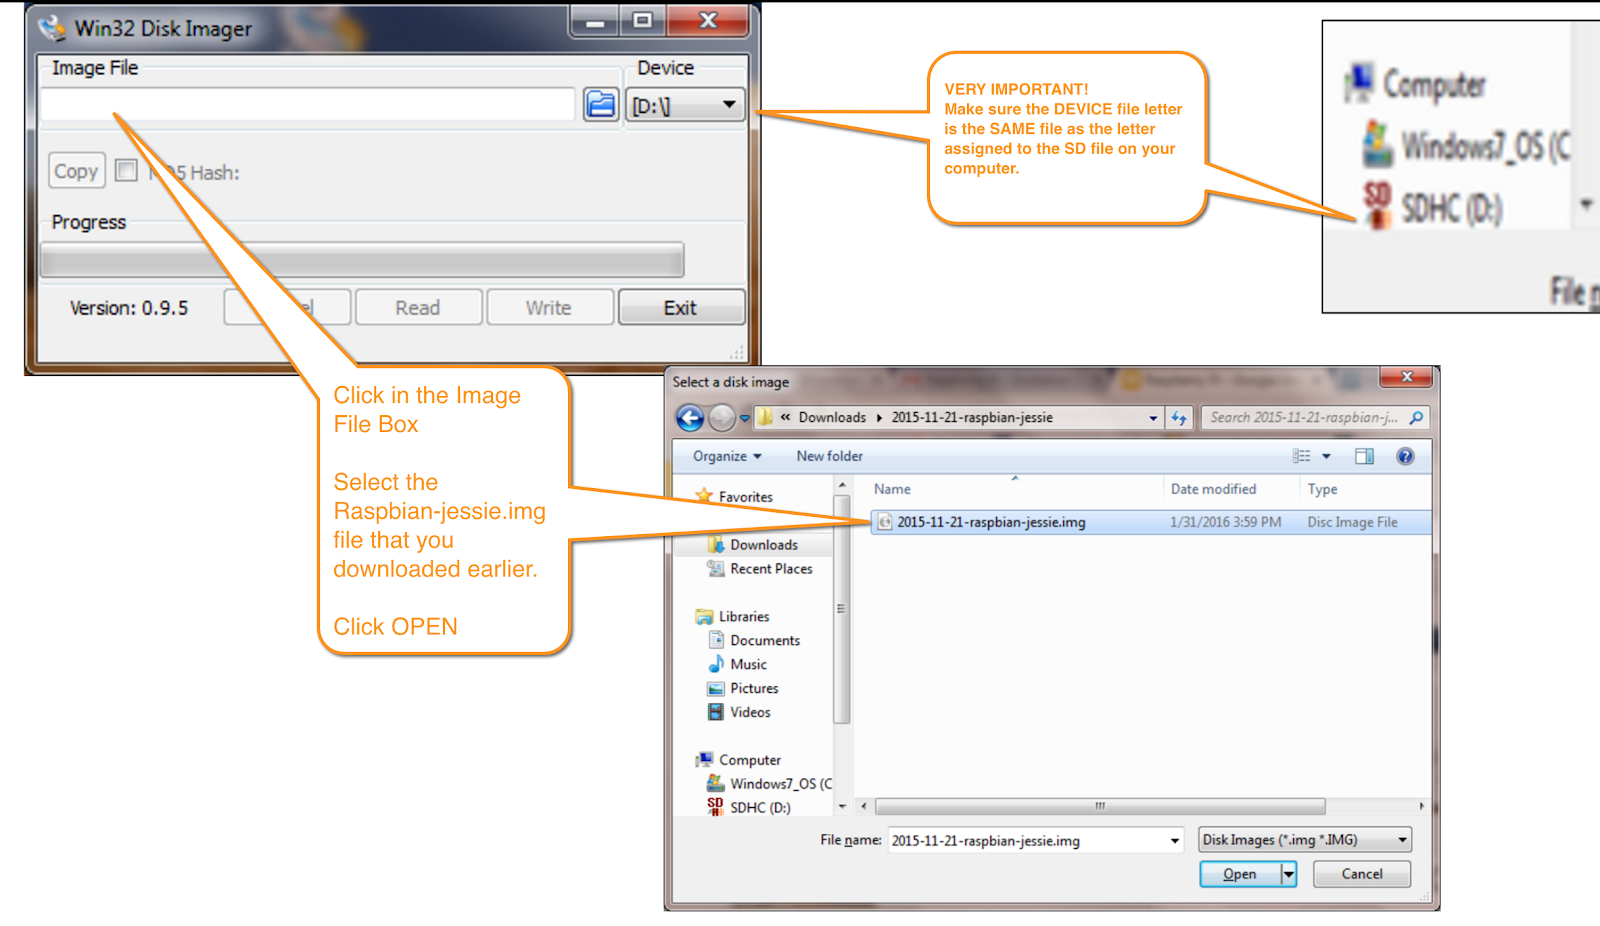
Then click on DEVICE Box in the Disk Imager Program and make sure to Select the drive letter of the letter that matches the letter your computer assigned to our SD Card. Mine was D: but yours might be different.
VERY IMPORTANT! Be careful to select the correct drive; if you get the wrong one you can destroy your data on the computer's hard disk!
It’s very important to note the CORRECT letter.
Click Write and wait for the process to finish..
Eject the SD card which now contains the Operating System (Raspian Jessie)!
Remove the MicroSD Card from the Adapter.
Congratulations! You are ready to insert your microSD card with the new RASPIAN JESSIE operating system into your Pi Zero. Of course, you’ll need to hook up power, a monitor or display option, a USB adapter and USB mouse.
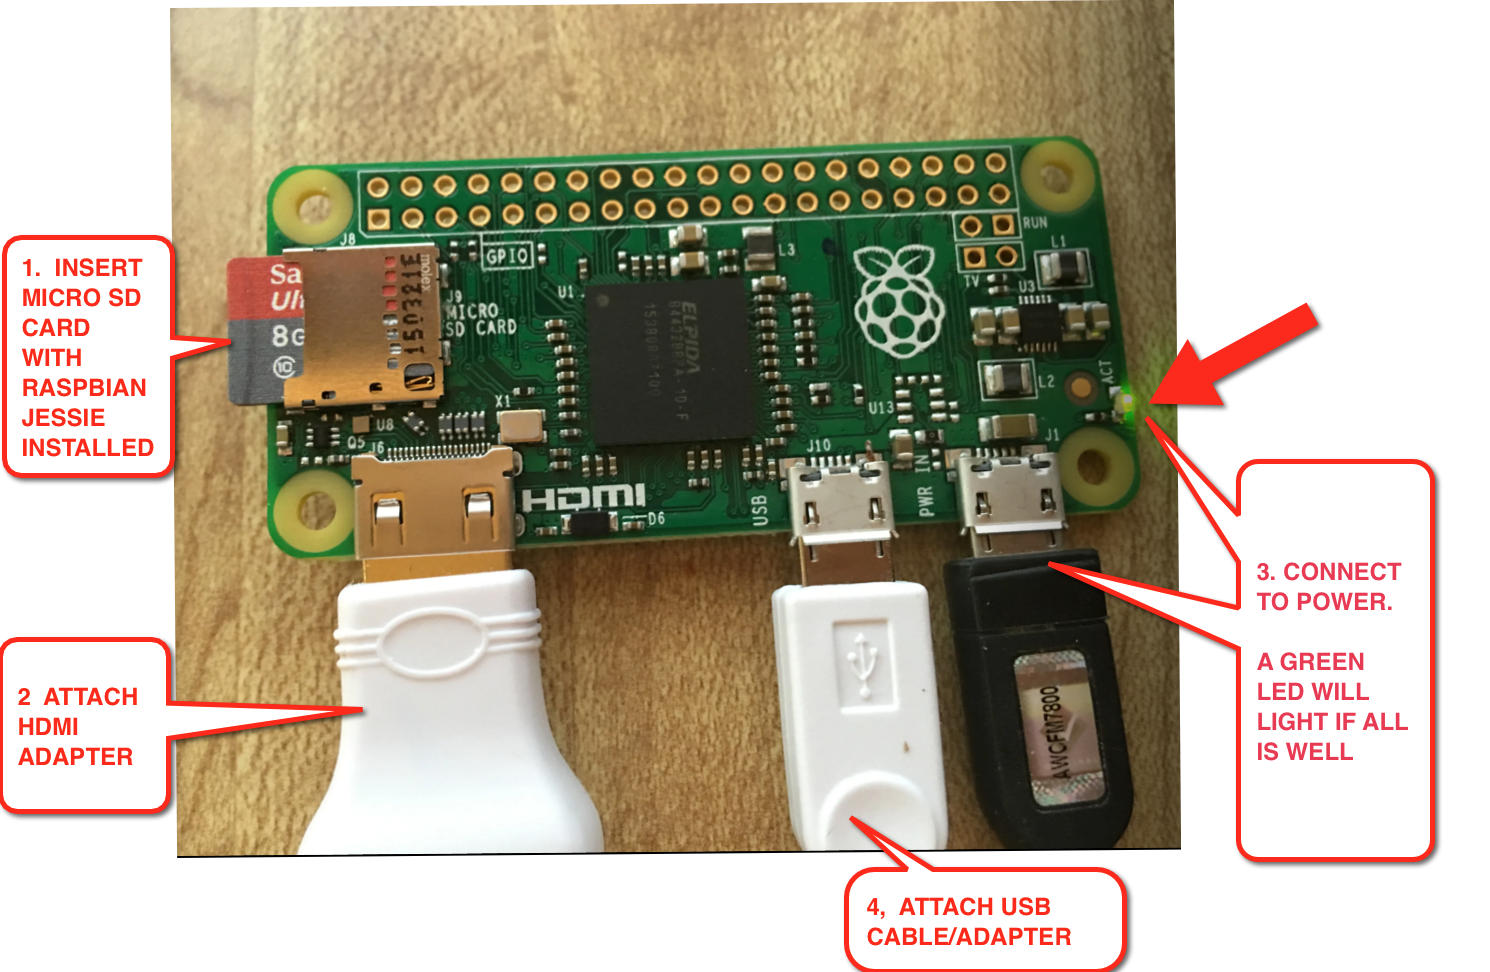
Note that the order of operations matters when you connect everything!
Turn on your Monitor/Display first
Turn on your Monitor/Display first
THEN connect to POWER so that the Raspberry Pi can sense that a monitor is attached and figure out what resolution the monitor is set to.
(You might remember from my earlier post.. that this can be a bit tricky).
If all goes well --- after a few minutes of WAIT time.. you will get a screen that looks like this.
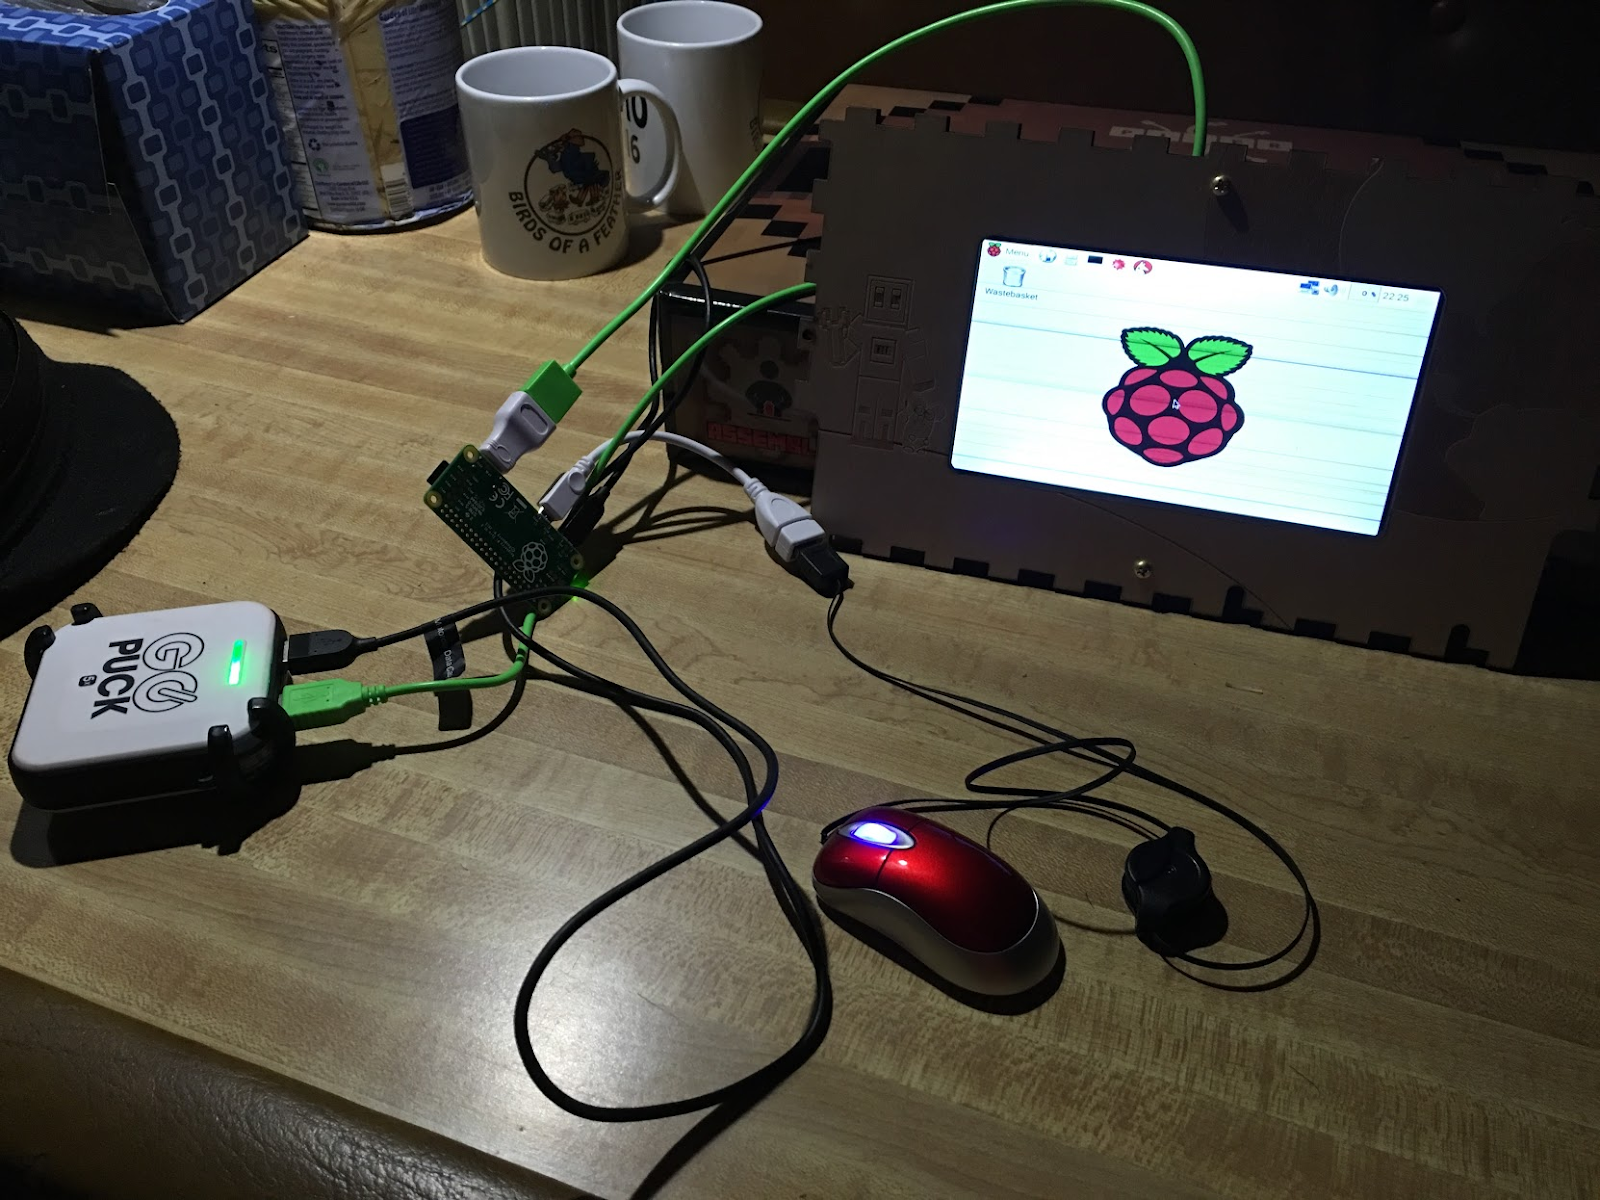
Hopefully this is the case for you. As I mentioned in my earlier post, post, I experienced a chicken and egg dilemma trying to get my display to work and installing the OS. You can’t do one without the other. You can’t test whether your OS install went well without a display; but you can’t test if your display is compatible with your Pi Zero without the OS.
I’m assuming all is well and that you will not experience this dilemma.. unfortunately I did and I’ll share how I resolved it in my next post.
Oh.. and just a reminder for those who might not have seen the first post… this series is meant to give less experienced users the CONFIDENCE they need to move forward with their Raspberry Pi Zero. There are lots of great resources out there - but it’s so easy to miss a step if you are a new user and from experience I know that one misstep can cause you to lose confidence. Pictures to guide you can help give you confidence that you’re on the right track.
But visuals can also throw you off if a version changes or your computer is slightly different; in that case look for similarities.
Thanks for reading my Raspberry Pi series where I try to point out areas that a new user might need to pay special attention to stay confident and to show my own errors as a way to model how my Raspberry PI journey helped me develop my growth mindset and build my confidence as a maker / educator.
But visuals can also throw you off if a version changes or your computer is slightly different; in that case look for similarities.
No comments:
Post a Comment